Measure from socket to socket
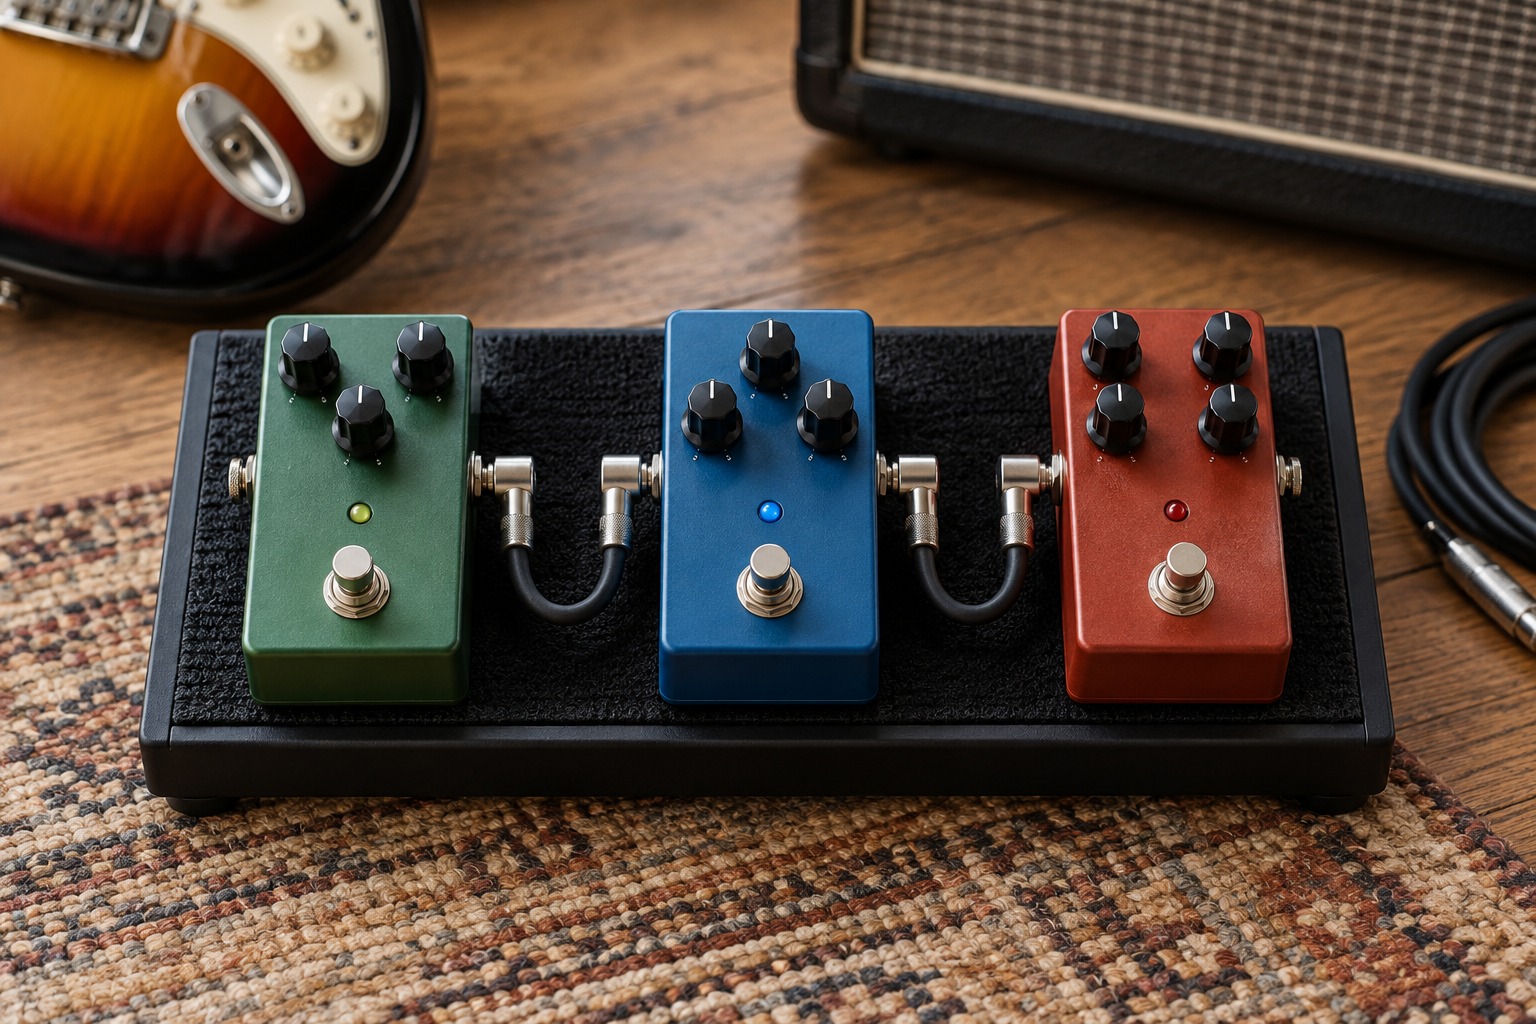
Arrange the pedals in the order and position you intend to use, then measure the route between sockets. Include a gentle bend rather than pulling a straight line tight. The shortest possible cable is not necessarily the best fit: it can put sideways force on a jack or make it difficult to lift a pedal for access.
Check the plug housing dimensions. Low-profile right-angle plugs can save space, but a broad housing may block an adjacent socket. Top-mounted power and audio connections are especially worth checking together. A plug that fits one pedal neatly may be unsuitable for another with closely spaced stereo jacks.
Route for access as well as appearance
Leave the controls and footswitches clear. A cable crossing over a switch can be stepped on or caught by a shoe. Under-board routing can look tidy, but it should still allow inspection and replacement. Do not secure cables so tightly that the jacket is compressed or the pedal cannot be removed without cutting everything loose.
Consider the order in which you will connect and disconnect the board. If the only way to reach a rear socket is to remove three pedals, a little more spacing may save considerable frustration later. Keep enough slack to access batteries or underside switches where the product design requires it.
Test individual cables before fixing the layout
Check each cable in a simple known-working signal path at a low listening level. Then assemble the board in stages. If a connection becomes intermittent when the plug moves gently during ordinary handling, replace or repair it appropriately rather than hiding it under mounting tape. Avoid aggressive bending as a test; the aim is to confirm normal use, not stress the cable.
For stereo or specialized control connections, verify the required wiring. A familiar quarter-inch plug does not establish that an ordinary mono patch cable is correct for every socket. Keep audio patch leads distinguishable from expression or other control cables that may use different conductors.
Once the board works, carry one spare cable of a useful length. It can bridge several positions during troubleshooting instead of fitting only the tightest gap. Record the lengths that worked in your layout so future replacements can be ordered from measurements rather than repeating the entire trial.